
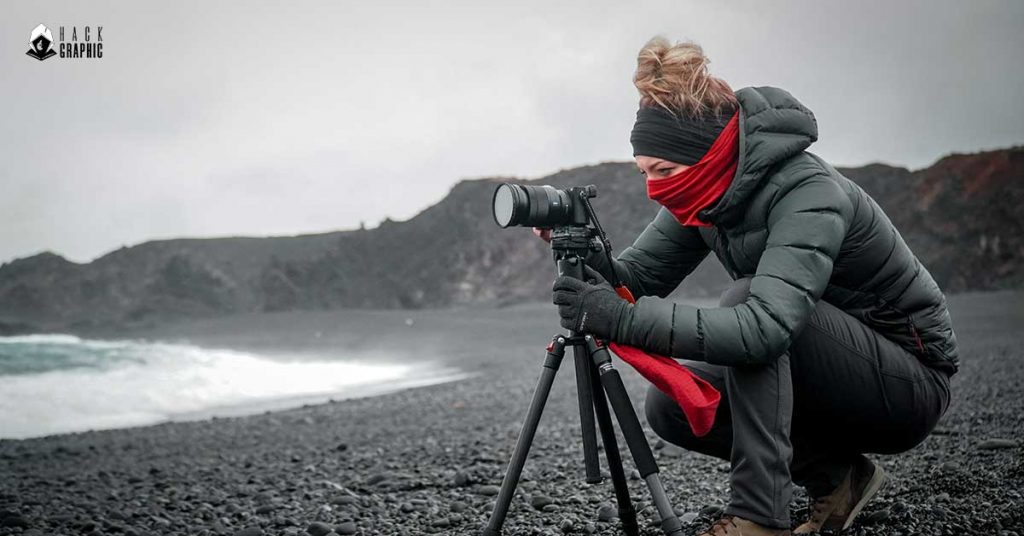
As a graphics designer or photographer, you’re probably used to dealing with noise in your photographs used in different graphics. Digital noise is a blemish that impairs the clarity of a photograph. When you zoom in on an image closely, the noise might make it look pixelated. So we have to reduce noise in Photoshop.
Low light situations, high sensitivity modes, and slow shutter speeds are all examples of conditions that can generate noise in your images. Unlike Lightroom, which only allows you to decrease noise, Photoshop provides a lot more flexibility and refinement. So keep reading if you’re ready to discover How to reduce noise in Photoshop for your wedding photography or any other photographs.
Related:
- Change Eyes Colour in Photoshop (Single/Multi-Color).
- How to Cut Out an Image in Photoshop (Cut And Refine Edges).
- Make a Poster in Photoshop (Movie Poster Design).
- How to Photoshop Someone into a Picture (Make Real Composites).
Today, we’ll show you how to reduce noise in Photoshop using particular procedures.
Table of Contents
Two Types Of Digital Noise
One of the first steps in the process of removing noise from your images so that you can use those photographs in your designs or anywhere else is to identify the sort of digital noise. In the sections below, we’ll go over the many types of noise you might see in your pictures.
Digital Luminance Noise
Luminance noise, which appears as grain on your photographs, is the next type of noise. In most cases, when we talk about noise we see Luminance noise in our photographs. Luminance noise, unlike color noise, does not have color fluctuations. Instead of colors, this noise refers to the brightness of the image.
Digital Color Noise
Color noise is the first sort of noise that emerges when color is changed. Color noise looks like a rainbow of hues rather than a consistent color. By checking these defects you can check that, is it a color noise which we have to reduce?
How to Easily Identify Noise Type?
When an image is zoomed out, it can be difficult to distinguish which form of noise is there, so zoom in to assist identify it. Color noise can be identified by color distortion in the image. Luminance noise is identified by the presence of black, white, and grey dots.
The first step in reducing noise in Photoshop is to determine the type of noise. Now that you’ve learned more about the different forms of noise you could discover in your photos, here are some tips to reduce noise in Photoshop. These are some general rules to follow, but the amount of noise you remove will be determined by your personal photographic style.
How to Reduce Noise In Photoshop (Digital Luminance Noise)
Follow this method and steps to reduce luminance noise in Photoshop from your images:
Change Color Mode To Lab Color Mode
To switch to Lab Color Mode go to Image and then “Mode” and select “Lab Color” from the menu. This will enable you to enter “Lab Color” mode.
You’ll note that you’re now working with “Lightness” “a” and “b” instead of “Red,” “Green,” and “Blue” from the “RGB” channel in the “Channels” palette.
The “Lightness” channel contains information on the image’s black and white, or luminance. Green and magenta details can be found in the “a” channel, while yellow and blue information can be found in the “b” channel.
Create New Layer
Create a new layer after switching to “Lab Color” mode. Drag the existing background layer to the “Create New Layer” icon at the bottom to accomplish this. When you create a new layer, the old photo remains intact while you work on the new layer.
Select Lightness Channel
Select the “Lightness” channel once you’ve created a new layer. To remove luminance noise from your image, you’ll want to use this channel.
Create New Lightness Channel
Make a copy of the “Lightness” channel. Drag an existing channel to the bottom of the page to the “Create New Channel” icon. The same principle applies in this case.
Creating a new channel allows you to make changes to the image without affecting the original. Make careful to alter the name of the new channel before moving on so you know which one to select to make more changes.
Add Effects To New Channel
Apply the “Glowing Edges” effect to the image now that the additional channel is ready. Simply select “Filter” and then “Filter Gallery” from the drop-down menu.
Then select “Glowing Edges” from the “Stylize” menu. The “Glowing Edges” effect detects and highlights the photo’s edges in white. All smooth surfaces have been preserved in their natural state.
Invert Channels
After you’ve finished tweaking this channel, click “Image,” hover over “Adjustments,” and then select “Invert” to invert it. Then click on the new channel while holding down “Command” on a Mac (or “Control” on a PC). When you perform this action, the white areas will be picked while the dark areas will not.
Blur The Selection
After that, go to “Filter,” hover over “Blur,” and choose “Smart Blur.” Set the “Quality” to high under “Smart Blur.” To avoid adding too much blur to the image, set the “Radius” to a lower value. “Threshold” is a setting under “Radius” that determines the amount of blur you apply. To avoid ruining the photo’s details, make sure to pick a value of around 10.
Set The Opacity
After you’ve blurred the image, go to the “Layers” panel and change the “Opacity.” This will assist you in fine-tuning the outcomes of your alterations. The “Opacity” you choose is determined by your personal photography style and the effects you want to achieve.
The “Opacity” percentage you set will affect both the bottom, original, unchanged layer, and the upper, adjusted layer. Setting the “Opacity” can also aid in the refinement of the original layer’s details.
Merge The Final Image To Get Results
You can now flatten the image after you’ve done the necessary edits. “Layer” and “Flatten Image” are the two options. By choosing “Image,” hovering over “Mode,” and selecting “RGB Color,” you can return to RGB color mode.
Related: How to Blur in Photoshop (Realistic Blur Effect).
Best Way To Reduce Noise In Photoshop (Digital Color Noise)
Follow this method and steps to decrease color noise in Photoshop from your images:
Go To “Reduce Noise” Filter
The “Reduce Noise” filter is the first stage in reducing noise in Photoshop.
To get to the Reduce Noise filter, go to the “Filter” menu and select “Noise,” then “Reduce Noise”.
The “Reduce Noise” dialogue box includes a preview area as well as various sliders and options for reducing various sorts of noise. The best technique to accomplish noise reduction in Photoshop is to use this dialogue box.
Apply Filter Settings For Reduce Noise in Photoshop
The “Reduce Color Noise” slider will appear, and the next step is to set it.
Drag the slider to the right slowly until the color noise merges in as much as possible with the image.
You can use the preview area while dragging the slider to ensure that you don’t move it too far.
See The Difference Of Before And After:
Click and hold on to the preview box to see the original version of your image. This allows you to view how the original image looked and how much further the slider should be adjusted.

Some Additional Steps To Reduce Noise in Photoshop
An additional way to reduce luminance noise in Photoshop is to adjust the “Strength” and “Preserve Details.”
Hover your mouse over “Noise” and click “Reduce Noise.” To begin, set the value of “Strength” to 0%. To remove as much luminance noise as possible, drag the “Strength” slider to the right. To save the photo’s details, don’t drag the slider too much to the right.
Drag the “Preserve Details” slider to the right after you’ve reduced the noise as much as you can to restore the image’s detail. This should be done carefully so that the detail is preserved and the noise is not reintroduced.
Final Words | Best Ways To Reduce Noise in Photoshop
To increase the image’s quality, accomplish a specific aesthetic, or add intrigue, you may wish to add more noise to it, depending on your personal photography style.
Related: How to Change Color of Object in Photoshop In Two Minutes.
To achieve similar goals, you can also apply grain to an image in Photoshop with a lot of noise. Learning how to decrease noise in Photoshop properly might assist you in making image edits.
You can prevent the editing nightmares that photographers may experience if you have the necessary knowledge and skills.

I’m a Graphic Designer with 5+ years of experience. Specialized in Adobe Photoshop.
Get Info About Any Photoshop Editing, Photoshop Manipulation, Logo Design, Flyers, Business Card, Cartoon Portrait and any type of work-related to Graphic Design and Photoshop Editing.


