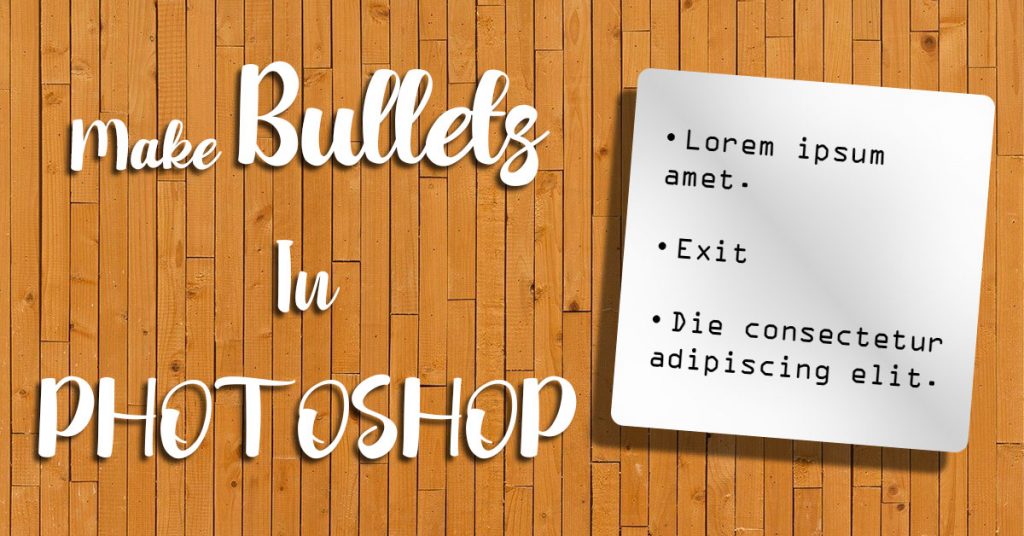
Wanna know How to make Bullet Points in Photoshop? If you’re using Microsoft Windows, you can type a bullet by holding down the “Alt” key on your keyboard and typing the bullet alt code, which is “0149,” on your numeric keypad, on the right side of your keyboard.
A paragraph-level characteristic called Bullets and Numbering adds a bullet character or a number to the beginning of the paragraph. Applying a bullet is simple; numbering is a little more challenging.
But if you are going to do that on Photoshop, it may work or maybe not.
So to know how to make bullet points in photoshop, we have to find some alternative ways to do that.
Here I’m going to show you 2 different methods by which you can make bullet points in photoshop.
So, Lets Go For It!
Table of Contents
Methods To Make Bullet Points In Photoshop
Method # 1:
Creating New Document
Start Photoshop.
First, In Photoshop, go to File > New. Name the document of your choice. Set the file to the following dimensions:
- Width to 1000 px
- Height to 1000 px
- Resolution to 300 px or 72 px
- Colour Mode to RGB
Then click Create.
You can choose your demensions, orientation and resolution, these values are just for this example document.

Click the Type Tool. It’s the T in the Tools menu on the left side of the screen.
Click on the canvas to make a text box. Do so in the place where you want the bullet point.

Through Typing Panel:
After that Go to Type > Panel > Glyphs Panel.

Here you will find all symbols and characters of the font you are using.
In this find the Bullet symbol and click on it to type it in your text box. Then copy and paste that symbol where you want bullets.

Alternatively, you can copy and paste this bullet.
Method # 2:
Creating New Document
Start Photoshop.
First, In Photoshop, go to File > New. Name the document of your choice. Set the file to the following dimensions:
- Width to 1000 px
- Height to 1000 px
- Resolution to 300 px or 72 px
- Colour Mode to RGB
Then click Create.
You can choose your dimensions, orientation and resolution, these values are just for this example document.
Click the Type Tool. It’s the T in the Tools menu on the left side of the screen.
Click on canvas to make text box. Do so in the place where you want the bullet point.
Using Wingdings
After making a text box you just have to type there “l” so Press L.
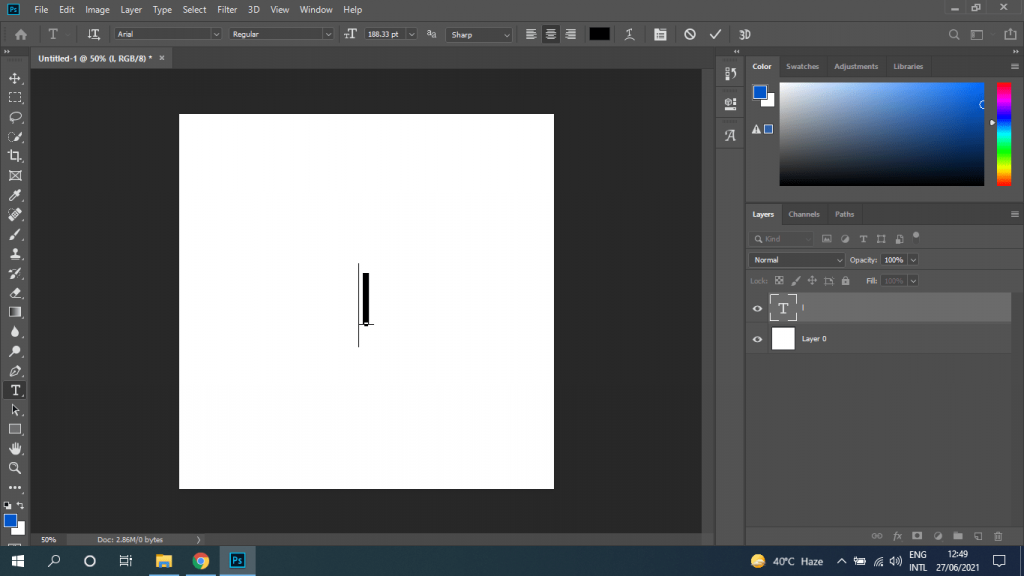
Highlight the letter “l” you just typed.
Double-click the font name in the upper-left corner of Photoshop.
Find the font named wingdings and apply it on that “l”.
Or Type wingdings in this font name area and press Enter. The “l” will become a bullet point.

Alternatively, you can copy and paste this bullet.
Conclusion:
Now we know that there is no direct or in-built feature in photoshop to make bullet points automatically where needed. The thing is we have to type once that symbol and then have to copy and paste it where we wanted.

Keep Learning:
Wanna Design Best Banner Ads Or Posters. Learn Here!
Watch Video For More Info:

I’m a Graphic Designer with 5+ years of experience. Specialized in Adobe Photoshop.
Get Info About Any Photoshop Editing, Photoshop Manipulation, Logo Design, Flyers, Business Card, Cartoon Portrait and any type of work-related to Graphic Design and Photoshop Editing.


